

How to install a positioner on a pneumatic steam valve?
Hey there! As a supplier of pneumatic steam valves, I often get asked about how to install a positioner on these valves. It might seem like a daunting task, but with the right steps and a bit of know - how, you can get it done smoothly. So, let's dive right in!
Why Install a Positioner on a Pneumatic Steam Valve?
First off, you might be wondering why you even need a positioner on your pneumatic steam valve. Well, a positioner helps in accurately controlling the valve's position. It ensures that the valve opens or closes to the exact degree required, based on the input signal it receives. This is super important in applications where precise control of steam flow is crucial, like in industrial processes or HVAC systems.

Tools and Materials You'll Need
Before you start the installation, gather the necessary tools and materials. You'll need a wrench set, a screwdriver, a pressure gauge, and of course, the positioner itself. Make sure the positioner is compatible with your pneumatic steam valve. You can check the product specifications to confirm this. Also, have some Teflon tape on hand to seal the connections and prevent any leaks.

Step 1: Preparation
- Shut Down the System: Safety first! Before you begin any work on the valve, shut down the steam system. This will prevent any accidental steam release, which can be extremely dangerous.
- Depressurize the Valve: Use a pressure gauge to check the pressure in the valve. If there's still pressure, carefully release it following the safety procedures.
- Clean the Valve: Use a clean cloth to wipe down the valve body. Remove any dirt, debris, or rust that might interfere with the positioner installation.
Step 2: Mounting the Positioner
- Choose the Right Location: The positioner should be mounted in a location that is easily accessible for maintenance and adjustment. It should also be away from any sources of heat or vibration that could affect its performance.
- Align the Positioner: Place the positioner on the valve actuator and align it properly. Most positioners come with mounting holes that match the actuator. Use the appropriate bolts and nuts to secure the positioner in place. Make sure it's tightened firmly, but don't over - tighten as it could damage the components.
Step 3: Connecting the Air Supply
- Identify the Air Ports: The positioner will have air ports for the supply air and the output air. Locate these ports on the positioner and the valve actuator.
- Connect the Tubing: Use the appropriate tubing to connect the air ports. Apply Teflon tape to the threads of the tubing connections to prevent air leaks. Make sure the tubing is properly seated and tightened.
- Check for Leaks: Once the connections are made, turn on the air supply at a low pressure. Use a soapy water solution to check for any air leaks at the connections. If you see bubbles forming, tighten the connection or re - apply the Teflon tape.
Step 4: Electrical Connections (if applicable)
- Understand the Wiring Diagram: If your positioner is an electro - pneumatic type, it will have electrical connections. Refer to the wiring diagram provided with the positioner to understand how to connect the wires.
- Connect the Wires: Use the appropriate tools to connect the wires to the correct terminals on the positioner. Make sure the connections are secure and insulated to prevent any electrical shorts.
Step 5: Calibration
- Initial Setup: Once the positioner is installed and connected, it needs to be calibrated. Start by setting the zero and span values according to the manufacturer's instructions. The zero value corresponds to the valve's fully closed position, and the span value corresponds to the fully open position.
- Adjustment: Use a calibration tool or the built - in adjustment knobs on the positioner to fine - tune the settings. You can use a pressure gauge or a flow meter to monitor the valve's performance during calibration.
Step 6: Testing
- Function Test: After calibration, perform a function test of the valve. Send a control signal to the positioner and observe how the valve responds. The valve should open and close smoothly and accurately according to the input signal.
- Long - Term Testing: Run the steam system for a while to ensure the positioner and the valve are working properly under normal operating conditions. Monitor the valve's performance and make any necessary adjustments.
Related Products
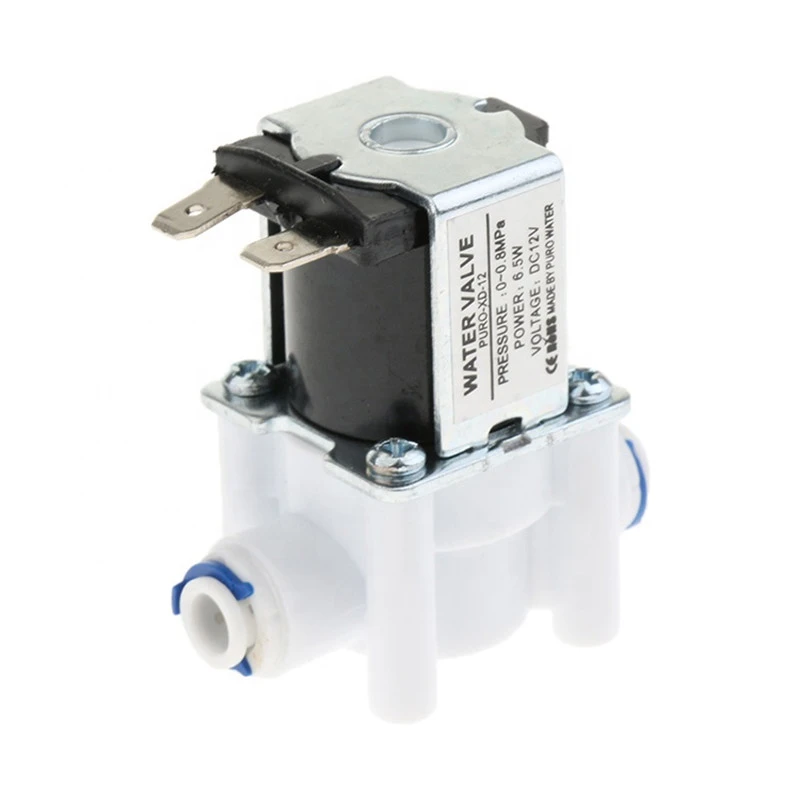
If you're in the market for other types of valves, we also offer a range of high - quality products. Check out our Ro Water Purifier Solenoid Valve, which is perfect for water purification systems. We also have the 2 way electric water valve normally open and the Electric Water Valve 220V for various water control applications.
Wrapping Up
Installing a positioner on a pneumatic steam valve might seem like a complex process, but if you follow these steps carefully, you'll be able to do it successfully. Remember, safety is always the top priority, so make sure to follow all the safety procedures during the installation. If you have any questions or need further assistance, don't hesitate to reach out. We're here to help you with all your valve needs. Whether you're looking to upgrade your existing system or start a new project, we can provide you with the right products and support. So, why wait? Contact us today to discuss your requirements and let's get your project on track!

References
- Valve Manufacturer's Installation Manuals
- Industrial Valve Installation and Maintenance Guides
- Pneumatic System Design and Troubleshooting Handbooks