

How to install a pneumatic actuator on a steam valve?
Installing a pneumatic actuator on a steam valve is a critical process that requires precision, knowledge, and the right equipment. As a reputable Pneumatic Steam Valve supplier, I've witnessed firsthand the importance of a proper installation. In this blog post, I'll guide you through the step - by - step process of installing a pneumatic actuator on a steam valve, ensuring that you can carry out this task safely and effectively.
Pre - installation Preparation
Before diving into the installation process, it's essential to gather all the necessary tools and materials. You'll need a wrench set, screwdrivers, a torque wrench, a pressure gauge, a pneumatic tubing cutter, and Teflon tape. Additionally, ensure that the pneumatic actuator and steam valve are compatible in terms of size, pressure ratings, and connection types.
Inspect the steam valve and the pneumatic actuator for any visible damage. Check the valve's seat, stem, and body for signs of wear or corrosion. For the pneumatic actuator, examine the diaphragm, piston, and seals. Any damaged components should be replaced before installation to prevent future issues.
Step 1: Disconnect the Power and Isolate the Steam System
Safety is paramount when working with steam valves. First, turn off the power supply to any electrical components associated with the steam valve. This includes any sensors or control systems. Next, isolate the steam system by closing the upstream and downstream isolation valves. This will prevent steam from flowing through the valve during the installation process.
Step 2: Remove the Existing Actuator (if applicable)
If there is an existing actuator on the steam valve, you'll need to remove it. Start by disconnecting the pneumatic or electrical connections. Use the appropriate tools to loosen and remove the mounting bolts that secure the actuator to the valve. Carefully lift the old actuator off the valve and set it aside.
Step 3: Prepare the Steam Valve
Clean the valve's mounting surface to ensure a proper seal with the new pneumatic actuator. Remove any dirt, debris, or old gasket material. Check the valve stem for straightness and smoothness. If the stem is damaged or bent, it may need to be repaired or replaced.
Step 4: Mount the Pneumatic Actuator
Place the pneumatic actuator on the steam valve's mounting surface. Align the actuator's stem connection with the valve stem. Insert the mounting bolts through the actuator and into the valve's mounting holes. Use a torque wrench to tighten the bolts to the manufacturer's recommended torque specifications. Over - tightening can damage the actuator or valve, while under - tightening can lead to leaks.
Step 5: Connect the Pneumatic Tubing
Cut the pneumatic tubing to the appropriate length using a tubing cutter. Ensure that the ends of the tubing are clean and free of burrs. Slide the tubing into the pneumatic fittings on the actuator. Use Teflon tape on the threaded connections to prevent air leaks. Connect the other end of the tubing to the pneumatic supply source.
Step 6: Install the Positioner (if required)
Some pneumatic actuators require a positioner to accurately control the valve's position. If your actuator needs a positioner, mount it on the actuator according to the manufacturer's instructions. Connect the positioner to the actuator and the control system using the appropriate electrical or pneumatic connections.
Step 7: Test the Installation
Once the installation is complete, it's time to test the system. Slowly open the upstream isolation valve to allow steam to enter the valve. Check for any leaks around the actuator, valve connections, and pneumatic tubing. Monitor the valve's operation using the control system. The valve should open and close smoothly in response to the pneumatic signals.
Use a pressure gauge to measure the pressure in the pneumatic system. Ensure that the pressure is within the actuator's operating range. If the valve doesn't operate correctly or if there are any leaks, shut down the system immediately and troubleshoot the issue.
Troubleshooting Common Issues
During the installation or testing process, you may encounter some common issues. If there are air leaks in the pneumatic system, check the tubing connections and fittings. Tighten any loose connections or replace damaged fittings. If the valve doesn't open or close fully, check the actuator's alignment with the valve stem. Also, verify that the pneumatic pressure is sufficient.
If you experience problems with the valve's position control, check the positioner settings. Make sure that the positioner is calibrated correctly and that the electrical or pneumatic signals are reaching the positioner.
Importance of Proper Installation
A proper installation of a pneumatic actuator on a steam valve is crucial for several reasons. First, it ensures the safe and reliable operation of the steam system. A poorly installed actuator can lead to steam leaks, which can be dangerous and cause damage to the surrounding equipment.

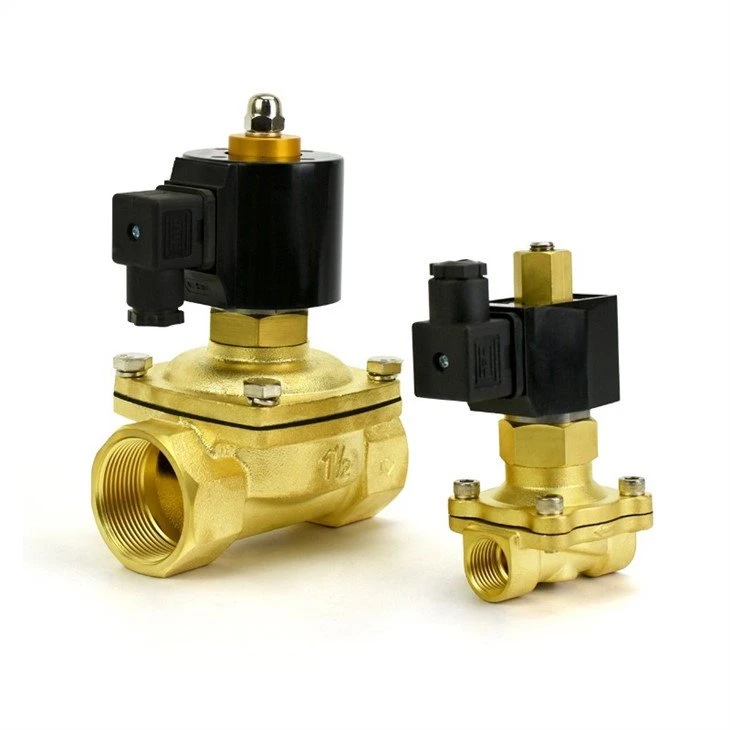
Second, a correct installation improves the valve's performance. The valve will open and close more accurately, allowing for better control of the steam flow. This can lead to energy savings and improved process efficiency.
Related Products
In addition to pneumatic steam valves, we also offer a range of other high - quality valves. For those in need of electric water valves, we have options for different voltage requirements. You can check out our Electric Water Valve 220v and Electric Water Valve 120v. If you're looking for a 24 - volt solenoid valve for water applications, our 24 Volt Solenoid Valve Water is a great choice.
Conclusion
Installing a pneumatic actuator on a steam valve is a complex but manageable process. By following the steps outlined in this blog post and taking the necessary safety precautions, you can ensure a successful installation. If you have any questions or need further assistance with your steam valve or pneumatic actuator installation, don't hesitate to contact us. We're here to help you with all your valve - related needs and are ready to engage in procurement discussions to meet your specific requirements.
References
- Manufacturer's installation manuals for pneumatic actuators and steam valves.
- Industry standards for steam system installation and maintenance.