How to install a 12V electric air valve in a confined space?
Installing a 12V electric air valve in a confined space can be a challenging yet rewarding task. As a supplier of 12V electric air valves, I've witnessed firsthand the importance of proper installation to ensure optimal performance. In this blog post, I'll guide you through the step-by-step process of installing a 12V electric air valve in a confined space, sharing tips and best practices along the way.
Understanding the Basics
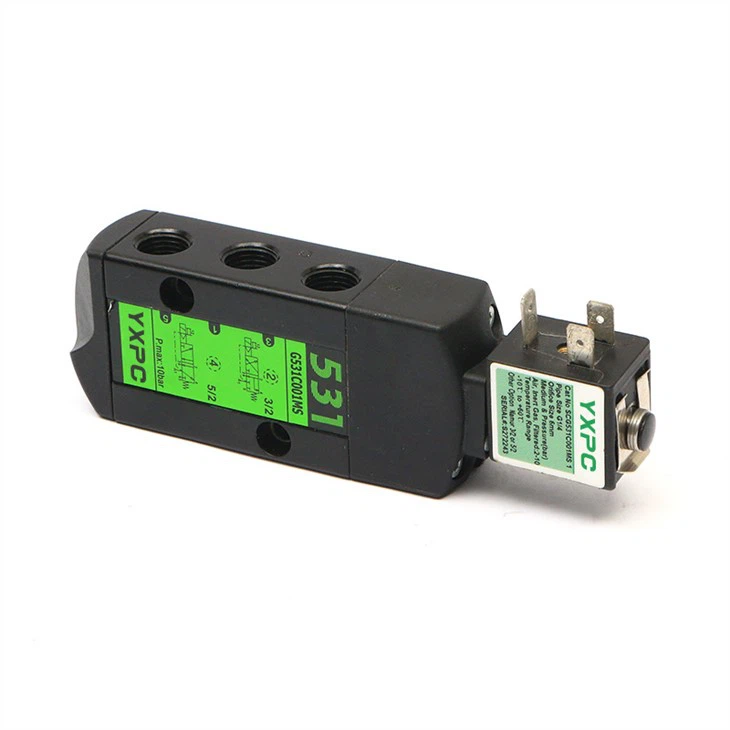
Before diving into the installation process, it's crucial to have a solid understanding of what a 12V electric air valve is and how it works. A 12V electric air valve is a device that controls the flow of air in a pneumatic system using a 12-volt electrical signal. These valves are commonly used in various applications, including automotive, industrial, and home automation systems.
There are several types of 12V electric air valves available on the market, each designed for specific applications. Some of the most common types include namur pneumatic solenoid valve, double acting actuator Valve Pneumatic, and Pneumatic Three Way Valve. Understanding the specific requirements of your application will help you choose the right valve for the job.
Pre-Installation Preparations
Proper preparation is key to a successful installation. Here are some essential steps to take before you start installing the 12V electric air valve:
1. Gather the Necessary Tools
You'll need a few basic tools to install the 12V electric air valve, including a wrench, screwdriver, wire strippers, and electrical tape. Make sure you have all the tools you need within reach before you begin the installation process.
2. Read the Manufacturer's Instructions
Every 12V electric air valve comes with a set of manufacturer's instructions. These instructions provide detailed information on how to install and operate the valve safely and effectively. Before you start the installation, take the time to read the instructions carefully and familiarize yourself with the installation process.
3. Identify the Installation Location
The installation location of the 12V electric air valve is crucial for its performance and longevity. Choose a location that is easily accessible, well-ventilated, and protected from moisture and dust. Make sure the location is also close to a power source and the pneumatic system.
4. Turn Off the Power and Air Supply
Before you start working on the installation, make sure to turn off the power and air supply to the pneumatic system. This will prevent any accidental activation of the valve and ensure your safety during the installation process.
Installation Process
Once you've completed the pre-installation preparations, you're ready to start installing the 12V electric air valve. Here's a step-by-step guide to help you through the installation process:
1. Mount the Valve
The first step is to mount the 12V electric air valve in the chosen installation location. Use the appropriate mounting hardware provided by the manufacturer to secure the valve in place. Make sure the valve is mounted securely and level to prevent any vibrations or movement during operation.

2. Connect the Air Supply Lines
Next, connect the air supply lines to the valve. The air supply lines are typically color-coded to indicate the inlet and outlet ports. Make sure you connect the air supply lines to the correct ports to ensure proper airflow through the valve. Use a wrench to tighten the fittings securely and prevent any air leaks.
3. Connect the Electrical Wires
After connecting the air supply lines, it's time to connect the electrical wires to the valve. The electrical wires are typically color-coded to indicate the positive and negative terminals. Make sure you connect the electrical wires to the correct terminals to ensure proper electrical operation of the valve. Use wire strippers to strip the insulation from the ends of the wires and connect them to the terminals using electrical connectors. Secure the connections with electrical tape to prevent any short circuits.
4. Test the Valve
Once you've connected the air supply lines and electrical wires, it's time to test the valve. Turn on the power and air supply to the pneumatic system and activate the valve using the control signal. Check for any air leaks or abnormal noises during the operation of the valve. If you notice any issues, turn off the power and air supply immediately and troubleshoot the problem.
5. Secure the Wires and Hoses
After testing the valve and ensuring its proper operation, secure the wires and hoses to prevent any movement or damage during operation. Use cable ties or clamps to secure the wires and hoses in place and keep them organized.
Post-Installation Checks
After completing the installation process, it's important to perform some post-installation checks to ensure the proper operation of the 12V electric air valve. Here are some essential checks to perform:
1. Check for Air Leaks
Inspect the air supply lines and fittings for any air leaks. Use a soapy water solution to check for air leaks. Apply the soapy water solution to the fittings and look for any bubbles. If you notice any bubbles, tighten the fittings or replace the seals to prevent the air leaks.
2. Check the Electrical Connections
Inspect the electrical connections to ensure they are secure and free from any damage. Check for any loose wires or connections and tighten them if necessary. Make sure the electrical connections are properly insulated to prevent any short circuits.
3. Test the Valve Again
After performing the post-installation checks, test the valve again to ensure its proper operation. Activate the valve using the control signal and check for any abnormal noises or vibrations. If you notice any issues, turn off the power and air supply immediately and troubleshoot the problem.
Tips and Best Practices
Here are some tips and best practices to keep in mind when installing a 12V electric air valve in a confined space:
- Use the Right Tools: Using the right tools for the job is crucial for a successful installation. Make sure you have all the necessary tools within reach before you start the installation process.
- Follow the Manufacturer's Instructions: The manufacturer's instructions provide detailed information on how to install and operate the valve safely and effectively. Make sure you read and follow the instructions carefully to ensure a proper installation.
- Take Your Time: Installing a 12V electric air valve in a confined space can be a challenging task. Take your time and be patient during the installation process. Rushing through the installation can lead to mistakes and issues.
- Seek Professional Help if Needed: If you're not comfortable installing the 12V electric air valve yourself, or if you encounter any issues during the installation process, don't hesitate to seek professional help. A qualified technician can ensure a proper installation and prevent any potential problems.
Conclusion
Installing a 12V electric air valve in a confined space requires careful planning, proper preparation, and attention to detail. By following the steps outlined in this blog post and using the tips and best practices provided, you can install the valve safely and effectively. As a supplier of 12V electric air valves, we are committed to providing high-quality products and excellent customer service. If you have any questions or need further assistance with the installation of a 12V electric air valve, please don't hesitate to contact us. We are here to help you with your purchasing needs and ensure your satisfaction.
References
- Manufacturer's instructions for 12V electric air valves
- Pneumatic system design and installation guidelines