

How to install a pneumatic relief valve?
Hey there! I'm from a pneumatic valve supplier, and today I'm gonna share with you how to install a pneumatic relief valve. This is a super important part of many pneumatic systems, so let's get right into it.
What is a Pneumatic Relief Valve?
First off, let's quickly talk about what a pneumatic relief valve is. It's a safety device that protects your pneumatic system from over - pressurization. When the pressure in the system goes above a set limit, the relief valve opens up and releases the excess pressure, preventing damage to the equipment and keeping everyone safe.
Tools You'll Need
Before you start the installation, you'll need to gather some tools. Here's a list of the basic ones:
- Wrenches: Different sizes to fit the valve and the pipes.
- Sealant: To ensure a leak - free connection.
- Thread tape: Helps with sealing threaded connections.
- A pressure gauge: To check the pressure in the system.
Step 1: Choose the Right Location
The first step in installing a pneumatic relief valve is to pick the right spot for it. You want to place it as close as possible to the source of pressure. This could be a compressor or a pressure vessel. Make sure there's enough space around the valve for easy access and maintenance. Also, avoid areas where the valve could be damaged by physical impact or extreme temperatures.
Step 2: Prepare the Pipes
Once you've found the location, it's time to prepare the pipes. Clean the ends of the pipes where the valve will be connected. Remove any dirt, debris, or rust. If the pipes have threaded ends, apply some thread tape in a clockwise direction. This will help create a tight seal and prevent leaks.
Step 3: Install the Valve
Now, it's time to install the valve. Carefully align the valve with the pipes. If the valve has flanges, make sure the holes in the flanges line up with the holes in the pipe flanges. Use bolts to secure the flanges together, but don't tighten them all the way just yet. If it's a threaded valve, screw it onto the pipe by hand first to make sure it's going on straight. Then, use a wrench to tighten it further. Be careful not to over - tighten, as this can damage the threads.
Step 4: Apply Sealant
After the valve is in place, apply a suitable sealant around the connections. This will provide an extra layer of protection against leaks. Make sure to follow the manufacturer's instructions when using the sealant. Some sealants need to dry for a certain period before the system can be pressurized.
Step 5: Check the Pressure Setting
Before you start the system, you need to check the pressure setting of the relief valve. This is usually set at the factory, but you may need to adjust it depending on your specific system requirements. Use a pressure gauge to measure the pressure in the system. If the pressure is too high or too low, you can adjust the spring tension on the relief valve to change the set pressure.
Step 6: Test the System
Once everything is installed and the pressure is set, it's time to test the system. Start the compressor or the pressure source and gradually increase the pressure. Keep an eye on the pressure gauge and the relief valve. When the pressure reaches the set limit, the relief valve should open and release the excess pressure. If it doesn't, there may be a problem with the installation or the valve itself. Check the connections, the pressure setting, and make sure the valve is working properly.
Step 7: Regular Maintenance
After the system is up and running, it's important to perform regular maintenance on the pneumatic relief valve. Check for leaks, corrosion, and any signs of wear and tear. Replace any damaged parts as soon as possible. Also, test the valve periodically to make sure it's still working correctly.

Related Products
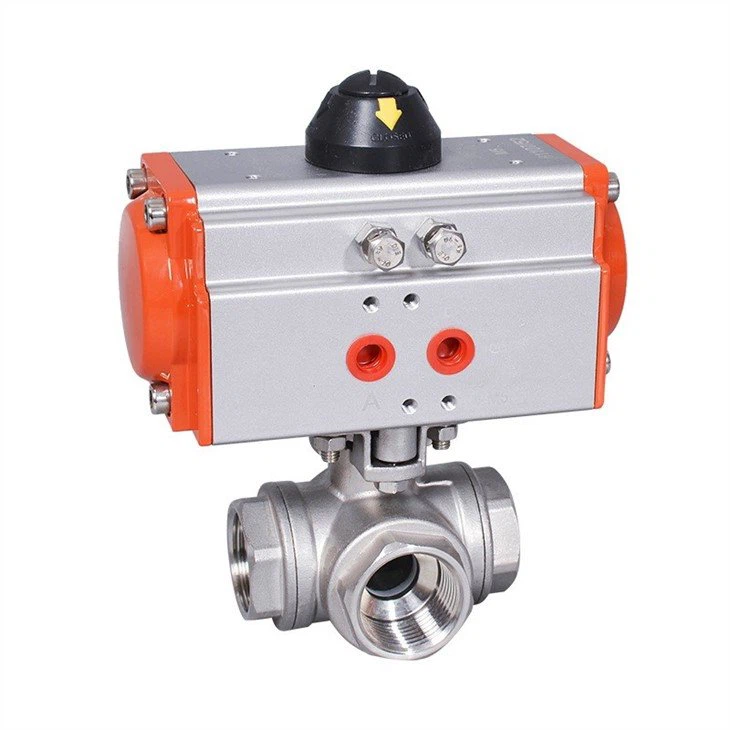
We offer a wide range of pneumatic valves and related products. For example, our Double Acting Numatics Actuator is a high - quality product that can be used in many pneumatic systems. We also have Professional Manufacture Dn50 Dn800 valves, which are suitable for different pipe sizes. And if you're looking for a manual option, our Air Valve Hand Lever Pneumatic Manual is a great choice.
Contact Us for Purchase and Negotiation
If you're interested in purchasing pneumatic valves or have any questions about the installation process, feel free to reach out to us. We're here to help you find the right products for your needs and provide you with the best service possible. Whether you're a small business or a large industrial facility, we have the expertise and the products to meet your requirements.
References
- Pneumatic Systems Handbook
- Valve Installation and Maintenance Guide